当前位置:网站首页>QT layout manager [qvboxlayout, qhboxlayout, qgridlayout]
QT layout manager [qvboxlayout, qhboxlayout, qgridlayout]
2022-06-23 17:12:00 【Red guest white hat】
QT Layout manager 【QVBoxLayout,QHBoxLayout,QGridLayout】
brief introduction
In this article , You will know the horizontal layout 、 Vertical layout 、 How easy to use grid layout , Show in pure code . Alignment mode , Size settings , Picture avatar matching label , The size of components in the layout can be switched randomly , Read this article carefully ,QT Proficient in using layout manager .
main.cpp
#include "mainwindow.h"
#include <QApplication>


int main(int argc, char *argv[])
{

    QApplication a(argc, argv);
    MainWindow w;
    return a.exec();
}
mainwindow.h
#ifndef MAINWINDOW_H
#define MAINWINDOW_H
#include<QPushButton>
#include <QMainWindow>
#include <QTextCodec>// Solve the problem of garbled character coding
#include<QTextEdit>
#include <QSlider>// Slide bar
QT_BEGIN_NAMESPACE
namespace Ui {
     class MainWindow; }
QT_END_NAMESPACE

class MainWindow : public QMainWindow
{

    Q_OBJECT

public:
    MainWindow(QWidget *parent = nullptr);
    ~MainWindow();

public slots:

private:
    Ui::MainWindow *ui;
    QTextCodec *codec;
    QWidget *window;
    QPushButton *button1;
    QPushButton *button2;
    QPushButton *button3;
    QPushButton *button4;
    QPushButton *button5;

    QWidget *win;// Convenient for global use
    QWidget *newweigdet;
};
#endif // MAINWINDOW_H
mainwindow.cpp
I won't give examples one by one , Concrete infiltration in the code
//============================= Layout manager is fully proficient in
#include "mainwindow.h"
#include "ui_mainwindow.h"
#include<QString>
#include<QStringLiteral>

#include<QDebug>// Console output
//========================== Layout manager
#include<QVBoxLayout>// level
#include<QHBoxLayout>// vertical
#include<QHBoxLayout>// grid
#include<QRadioButton>
#include <QLineEdit>
#include <QCheckBox>
#include<QLabel>
#include<QPixmap>
MainWindow::MainWindow(QWidget *parent)
    : QMainWindow(parent)
    , ui(new Ui::MainWindow)
{

    ui->setupUi(this);

    codec = QTextCodec::codecForName("gbk");// Set character encoding
    codec->setCodecForLocale(codec);
    setWindowTitle(codec->toUnicode("UI Learning notes "));
    win = new QWidget;// Create a widget
    newweigdet = new QWidget;
    newweigdet->hide();
    QHBoxLayout *hlay = new QHBoxLayout();// Create a horizontal layout

    QPushButton *bt1 = new QPushButton("bt1");
    bt1->setFixedSize(100,40);// Set width and height , Position the same
    QPushButton *bt2 = new QPushButton("bt2");
    QPushButton *bt3 = new QPushButton("bt3");
    QPushButton *bt4 = new QPushButton("bt4");
    bt2->setFixedSize(100,40);// Set width and height , Position the same
    bt3->setFixedSize(100,40);// Set width and height , Position the same
// qDebug()<<bt1->x()<<" "<<bt1->y()<<" "<<bt1->width()<<" "<<bt1->height();
// bt1->setGeometry(0,0,800,640);
    hlay->addWidget(bt1);
    hlay->addWidget(bt2);
    hlay->addWidget(bt3);
    hlay->addWidget(bt4);
    hlay->setSpacing(30);// Set the distance between components
    //hlay->setContentsMargins(10,10,10,10);// Set the distance between the inner control and the border
    // Create a new vertical layout
    QVBoxLayout *vlay = new QVBoxLayout();

    // establish 3 individual QRadioButton
    QRadioButton *rb1 = new QRadioButton("QRadioButton 1");
    QRadioButton *rb2 = new QRadioButton("QRadioButton 2");
    QRadioButton *rb3 = new QRadioButton("QRadioButton 3");

    // Place the horizontal layout in the vertical layout
    vlay->addItem(hlay);
    vlay->addWidget(rb1);
    vlay->addWidget(rb2);
    vlay->addWidget(rb3);

    vlay->setSpacing(30);// Set the distance between components
    vlay->setContentsMargins(30,10,10,10);// Set the distance between the inner control and the border
    /* Control size range is limited   Through the above code, we found a phenomenon : The size of the child control is not set in the program ,  The default size is Qt Automatically set , At the same time, when the window size changes , The size of the control will also be adjusted .  However, sometimes we don't want such an effect , We just want to keep the control size within a certain range ,  Here we need to use the following API Set it up .*/

    // Set button bt4 Minimum width and maximum width
    bt4->setMinimumWidth(60);
    bt4->setMaximumWidth(70);
    bt4->setFixedSize(50,50);// Set the width and height of this part 【 important 】

    QHBoxLayout *hlay2 = new QHBoxLayout();
    QPushButton *btOK = new QPushButton("OK");
    QPushButton *btCancel= new QPushButton("Cancel");

    hlay2->addWidget(btOK);
    // Increase scalability
    hlay2->addStretch();// Pulling does not affect size 【 a key 】
    hlay2->addWidget(btCancel);
    vlay->addItem(hlay2);

    QHBoxLayout *hlay3 = new QHBoxLayout();
    QPushButton *bt61 = new QPushButton("bt61");
    QPushButton *bt62= new QPushButton("bt62");
    QPushButton *bt63= new QPushButton("bt63");
// bt61->setFixedSize(100,40);// Set width and height , Position the same
// bt62->setFixedSize(100,40);// Set width and height , Position the same
// bt63->setFixedSize(100,40);// Set width and height , Position the same

    hlay3->addWidget(bt61);
    hlay3->addWidget(bt62);
    hlay3->addWidget(bt63);
    //Qt You can set the stretching coefficient of the control in , It can also be understood as the scaling of the control .
    hlay3->setStretchFactor(bt61,1);
    hlay3->setStretchFactor(bt62,2);
    hlay3->setStretchFactor(bt63,3);

    vlay->addItem(hlay3);

    win->setLayout(vlay);// Horizontal and vertical components are placed in this QWidget
    win->show();// Show
    bt4->setFixedSize(100,50);
    bt4->setText(codec->toUnicode(" On the next page "));
    connect(bt4,&QPushButton::clicked,[&](){

       on_pushButton_clicked();
    });// Set the signal and slot   The article has been published in the last chapter

}

MainWindow::~MainWindow()
{

    delete ui;
}

// Grid layout
void MainWindow::on_pushButton_clicked()
{

    win->hide();// Hide the previous window

    //  Build controls   Head portrait 、 user name 、 Password input box, etc
    QLabel *pImageLabel = new QLabel;
    QLineEdit *pUserLineEdit = new QLineEdit;
    QLineEdit *pPasswordLineEdit = new QLineEdit;
    QCheckBox *pRememberCheckBox = new QCheckBox;
    QCheckBox *pAutoLoginCheckBox = new QCheckBox;
    QPushButton *pLoginButton = new QPushButton;
    QPushButton *pRegisterButton = new QPushButton;
    QPushButton *pForgotButton = new QPushButton;
    QPushButton *page_up = new QPushButton;
    pLoginButton->setFixedHeight(30);// Set the width
    pUserLineEdit->setFixedWidth(200);// Set the width

    //  Set up your avatar
    QPixmap pixmap("C:/Users/SuJieYin/Pictures/Saved Pictures/2.png");
    pImageLabel->setFixedSize(90, 90);
    pImageLabel->setPixmap(pixmap);
    pImageLabel->setScaledContents(true);// Picture fit tab

    //  Set text
    pUserLineEdit->setPlaceholderText(codec->toUnicode("QQ number / mobile phone / mailbox "));// According to Chinese
    pPasswordLineEdit->setPlaceholderText(codec->toUnicode(" password "));
    pPasswordLineEdit->setEchoMode(QLineEdit::Password);// hide
    pRememberCheckBox->setText(codec->toUnicode(" Remember the password "));
    pAutoLoginCheckBox->setText(codec->toUnicode(" automatic logon "));
    pLoginButton->setText(codec->toUnicode(" Sign in "));
    pRegisterButton->setText(codec->toUnicode(" Registered account "));
    pForgotButton->setText(codec->toUnicode(" Retrieve password "));
    page_up->setText(codec->toUnicode(" The previous page "));

    QGridLayout *pLayout = new QGridLayout();
    //  Head portrait   The first 0 That's ok , The first 0 Column start , Occupy 3 That's ok 1 Column
    pLayout->addWidget(pImageLabel, 0, 0, 3, 1);
    //  User name input box   The first 0 That's ok , The first 1 Column start , Occupy 1 That's ok 2 Column
    pLayout->addWidget(pUserLineEdit, 0, 1, 1, 2);
    pLayout->addWidget(pRegisterButton, 0, 4);
    //  Password input box   The first 1 That's ok , The first 1 Column start , Occupy 1 That's ok 2 Column
    pLayout->addWidget(pPasswordLineEdit, 1, 1, 1, 2);
    pLayout->addWidget(pForgotButton, 1, 4);
    //  Remember the password   The first 2 That's ok , The first 1 Column start , Occupy 1 That's ok 1 Column   Level left   Vertical center
    pLayout->addWidget(pRememberCheckBox, 2, 1, 1, 1, Qt::AlignLeft | Qt::AlignVCenter);
    //  automatic logon   The first 2 That's ok , The first 2 Column start , Occupy 1 That's ok 1 Column   Level right   Vertical center
    pLayout->addWidget(pAutoLoginCheckBox, 2, 2, 1, 1, Qt::AlignRight | Qt::AlignVCenter);
    //  The login button   The first 3 That's ok , The first 1 Column start , Occupy 1 That's ok 2 Column
    pLayout->addWidget(pLoginButton, 3, 1, 1, 2);
    pLayout->addWidget(page_up,3,4);// Set the previous page in the third row and fourth column

    connect(page_up,&QPushButton::clicked,[&](){

       win->show();
    });
    //  Set the horizontal spacing
    pLayout->setHorizontalSpacing(10);
    //  Set the vertical spacing
    pLayout->setVerticalSpacing(10);
    //  Set the outer spacing
    pLayout->setContentsMargins(10, 10, 10, 10);// Border spacing settings
    newweigdet->setLayout(pLayout);// Add to widget
    newweigdet->show();// Show widgets
}
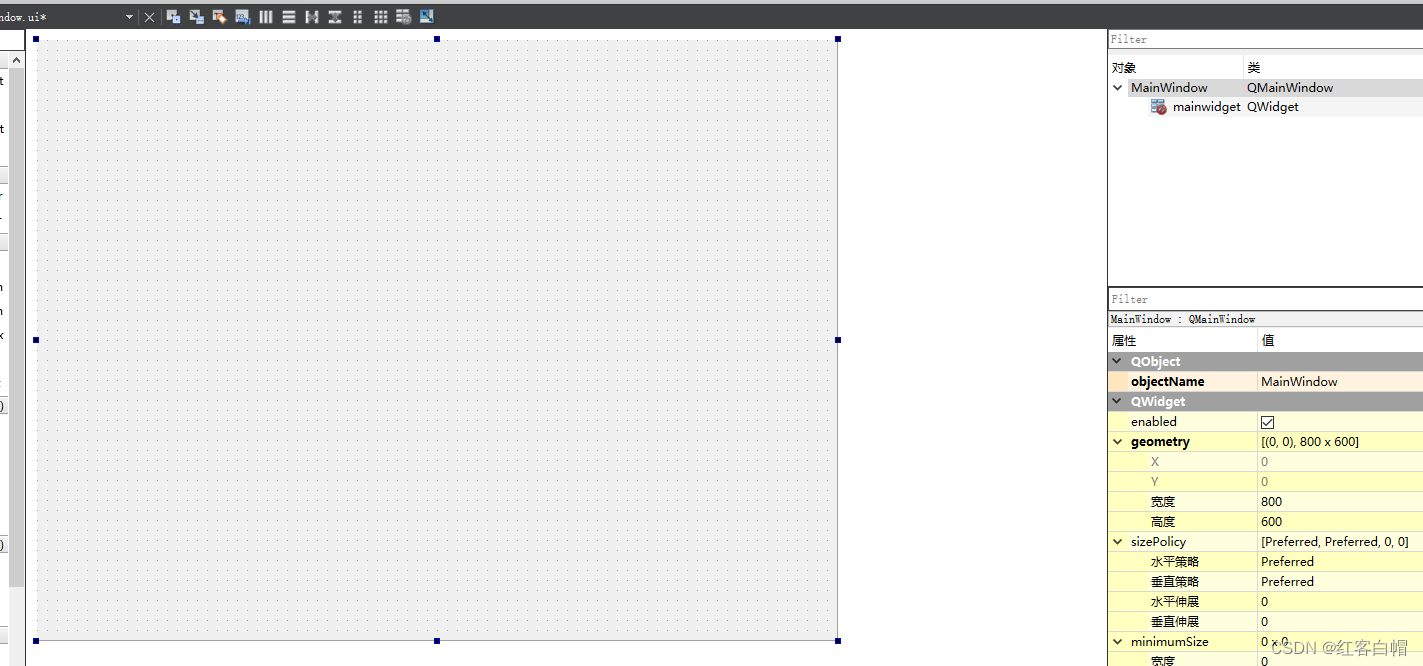
ui Interface design
Because it is implemented by pure code , therefore ui The interface is empty , Don't believe it. :
See how the code is implemented in detail , The notes are already very clear .
For example, the login interface
As shown below : first page 
Actual operation CTRL+R, Click the next page as shown in the figure :
summary
Study QT Not overnight , Huge function library , It takes a lot of energy to study , After mastering basic methods , adopt QT Learn the manual while doing it , The layout manager is used in almost all projects , Beautiful appearance is very important .
I've only mastered a drop in the bucket , But I will keep learning , I hope we all have perseverance , Continuously strengthen strength , end !
边栏推荐
- Digital twin excavator of Tupu software realizes remote control
- 网络远程访问树莓派(VNC Viewer)
- Short video platform development, click the input box to automatically pop up the soft keyboard
- ABAP essay - material master data interface enhancement
- JS common error reporting and exception capture
- ADC数字地DGND、模拟地AGND的谜团!
- ASEMI超快恢复二极管ES1J参数,ES1J封装,ES1J规格
- NPM install problem solving (NVM installation and use)
- Implementation of golang bubble sort code
- How to use SQL window functions
猜你喜欢

The company recruited a tester with five years' experience and saw the real test ceiling

Mathematical analysis_ Certification_ Chapter 1: the union of countable sets is countable

数字经济加速落地,能为中小企业带来什么?

Tupu digital twin 3D wind farm, offshore wind power of smart wind power

科大讯飞神经影像疾病预测方案!

Safe and comfortable, a new generation of Qijun carefully interprets the love of the old father

ASEMI肖特基二极管和超快恢复二极管在开关电源中的对比

Intranet penetration token stealing

千呼万唤,5G双卡双通到底有多重要?

Another breakthrough! Alibaba cloud enters the Gartner cloud AI developer service Challenger quadrant
随机推荐
测试的重要性及目的
Amadis publishes Ola payment processing standards
Huawei mobile phones install APK through ADB and prompt "the signature is inconsistent. The application may have been modified."
WebSocket能干些啥?
ADC digital DGND, analog agnd mystery!
Stick to five things to get you out of your confusion
Opengauss database source code analysis series articles -- detailed explanation of dense equivalent query technology (Part 1)
千呼万唤,5G双卡双通到底有多重要?
Code example of golang date time package: get age, zodiac and constellation based on birthday
Date to localdatetime
Code examples of golang goroutine, channel and time
短视频平台开发,点击输入框时自动弹出软键盘
How to configure MySQL log management
Mobile cloud jointly builds the capability base of information innovation cloud and helps the development of China's information innovation industry
如何选择示波器?这10点一定要考虑!
《MPLS和VP体系结构》
R language uses colorblinr package to simulate color blind vision, and uses edit to visualize the image of ggplot2_ The colors function is used to edit and convert color blindness into visual results
What can the accelerated implementation of digital economy bring to SMEs?
How to make sales management more efficient?
Robot Orientation and some misunderstandings in major selection in college entrance examination