当前位置:网站首页>QT布局管理器【QVBoxLayout,QHBoxLayout,QGridLayout】
QT布局管理器【QVBoxLayout,QHBoxLayout,QGridLayout】
2022-06-23 16:22:00 【红客白帽】
QT布局管理器【QVBoxLayout,QHBoxLayout,QGridLayout】
简介
在这篇文章中,你将知道水平布局、垂直布局、网格布局如何轻松上手,以纯代码方式展示。对齐方式,大小设置,图片头像匹配标签,布局器里面的组件大小随意切换大小,认真看完这篇文章,QT布局管理器熟练使用。
main.cpp
#include "mainwindow.h"
#include <QApplication>


int main(int argc, char *argv[])
{

    QApplication a(argc, argv);
    MainWindow w;
    return a.exec();
}
mainwindow.h
#ifndef MAINWINDOW_H
#define MAINWINDOW_H
#include<QPushButton>
#include <QMainWindow>
#include <QTextCodec>//解决字符编码乱码问题
#include<QTextEdit>
#include <QSlider>//滑动杆
QT_BEGIN_NAMESPACE
namespace Ui {
     class MainWindow; }
QT_END_NAMESPACE

class MainWindow : public QMainWindow
{

    Q_OBJECT

public:
    MainWindow(QWidget *parent = nullptr);
    ~MainWindow();

public slots:

private:
    Ui::MainWindow *ui;
    QTextCodec *codec;
    QWidget *window;
    QPushButton *button1;
    QPushButton *button2;
    QPushButton *button3;
    QPushButton *button4;
    QPushButton *button5;

    QWidget *win;//方便全局使用
    QWidget *newweigdet;
};
#endif // MAINWINDOW_H
mainwindow.cpp
我就不一一举例了,具体在代码中渗透
//=============================布局管理器全精通
#include "mainwindow.h"
#include "ui_mainwindow.h"
#include<QString>
#include<QStringLiteral>

#include<QDebug>//控制台输出
//==========================布局管理器
#include<QVBoxLayout>//水平
#include<QHBoxLayout>//垂直
#include<QHBoxLayout>//网格
#include<QRadioButton>
#include <QLineEdit>
#include <QCheckBox>
#include<QLabel>
#include<QPixmap>
MainWindow::MainWindow(QWidget *parent)
    : QMainWindow(parent)
    , ui(new Ui::MainWindow)
{

    ui->setupUi(this);

    codec = QTextCodec::codecForName("gbk");//设置字符编码
    codec->setCodecForLocale(codec);
    setWindowTitle(codec->toUnicode("UI学习笔记"));
    win = new QWidget;//创建一个窗口部件
    newweigdet = new QWidget;
    newweigdet->hide();
    QHBoxLayout *hlay = new QHBoxLayout();//创建水平布局

    QPushButton *bt1 = new QPushButton("bt1");
    bt1->setFixedSize(100,40);//设置宽高,位置不变
    QPushButton *bt2 = new QPushButton("bt2");
    QPushButton *bt3 = new QPushButton("bt3");
    QPushButton *bt4 = new QPushButton("bt4");
    bt2->setFixedSize(100,40);//设置宽高,位置不变
    bt3->setFixedSize(100,40);//设置宽高,位置不变
// qDebug()<<bt1->x()<<" "<<bt1->y()<<" "<<bt1->width()<<" "<<bt1->height();
// bt1->setGeometry(0,0,800,640);
    hlay->addWidget(bt1);
    hlay->addWidget(bt2);
    hlay->addWidget(bt3);
    hlay->addWidget(bt4);
    hlay->setSpacing(30);//设置组件之间的距离
    //hlay->setContentsMargins(10,10,10,10);//设置内部控件与边框的距离
    //新建垂直布局
    QVBoxLayout *vlay = new QVBoxLayout();

    //创建3个QRadioButton
    QRadioButton *rb1 = new QRadioButton("QRadioButton 1");
    QRadioButton *rb2 = new QRadioButton("QRadioButton 2");
    QRadioButton *rb3 = new QRadioButton("QRadioButton 3");

    //将水平布局放入垂直布局
    vlay->addItem(hlay);
    vlay->addWidget(rb1);
    vlay->addWidget(rb2);
    vlay->addWidget(rb3);

    vlay->setSpacing(30);//设置组件之间的距离
    vlay->setContentsMargins(30,10,10,10);//设置内部控件与边框的距离
    /*控件大小范围限定 通过上面的代码我们发现一个现象:程序中并没有去设置子控件的大小, 其默认大小是Qt自动设置的,同时在窗口大小改变时,控件大小也会随之调整。 然而有时候我们并不想要这样的效果,我们只想让控件大小保持在某一范围内, 这时就需要用到下面几个API进行设置了。*/

    //设置按钮bt4最小宽度和最大宽度
    bt4->setMinimumWidth(60);
    bt4->setMaximumWidth(70);
    bt4->setFixedSize(50,50);//设置这个部件的宽和高【重要】

    QHBoxLayout *hlay2 = new QHBoxLayout();
    QPushButton *btOK = new QPushButton("OK");
    QPushButton *btCancel= new QPushButton("Cancel");

    hlay2->addWidget(btOK);
    //增加可伸缩空间
    hlay2->addStretch();//拉扯不影响大小【重点】
    hlay2->addWidget(btCancel);
    vlay->addItem(hlay2);

    QHBoxLayout *hlay3 = new QHBoxLayout();
    QPushButton *bt61 = new QPushButton("bt61");
    QPushButton *bt62= new QPushButton("bt62");
    QPushButton *bt63= new QPushButton("bt63");
// bt61->setFixedSize(100,40);//设置宽高,位置不变
// bt62->setFixedSize(100,40);//设置宽高,位置不变
// bt63->setFixedSize(100,40);//设置宽高,位置不变

    hlay3->addWidget(bt61);
    hlay3->addWidget(bt62);
    hlay3->addWidget(bt63);
    //Qt中可以设定控件的拉伸系数,也可以理解为控件的缩放比例。
    hlay3->setStretchFactor(bt61,1);
    hlay3->setStretchFactor(bt62,2);
    hlay3->setStretchFactor(bt63,3);

    vlay->addItem(hlay3);

    win->setLayout(vlay);//水平和垂直组件放在这个QWidget
    win->show();//显示
    bt4->setFixedSize(100,50);
    bt4->setText(codec->toUnicode("下一页内容"));
    connect(bt4,&QPushButton::clicked,[&](){

       on_pushButton_clicked();
    });//设置信号与槽 上一章已经出过文章了

}

MainWindow::~MainWindow()
{

    delete ui;
}

//网格布局
void MainWindow::on_pushButton_clicked()
{

    win->hide();//隐藏上一个窗口

    // 构建控件 头像、用户名、密码输入框等
    QLabel *pImageLabel = new QLabel;
    QLineEdit *pUserLineEdit = new QLineEdit;
    QLineEdit *pPasswordLineEdit = new QLineEdit;
    QCheckBox *pRememberCheckBox = new QCheckBox;
    QCheckBox *pAutoLoginCheckBox = new QCheckBox;
    QPushButton *pLoginButton = new QPushButton;
    QPushButton *pRegisterButton = new QPushButton;
    QPushButton *pForgotButton = new QPushButton;
    QPushButton *page_up = new QPushButton;
    pLoginButton->setFixedHeight(30);//设置宽
    pUserLineEdit->setFixedWidth(200);//设置宽

    // 设置头像
    QPixmap pixmap("C:/Users/SuJieYin/Pictures/Saved Pictures/2.png");
    pImageLabel->setFixedSize(90, 90);
    pImageLabel->setPixmap(pixmap);
    pImageLabel->setScaledContents(true);//图片适应标签

    // 设置文本
    pUserLineEdit->setPlaceholderText(codec->toUnicode("QQ号码/手机/邮箱"));//显示中文
    pPasswordLineEdit->setPlaceholderText(codec->toUnicode("密码"));
    pPasswordLineEdit->setEchoMode(QLineEdit::Password);//隐藏
    pRememberCheckBox->setText(codec->toUnicode("记住密码"));
    pAutoLoginCheckBox->setText(codec->toUnicode("自动登录"));
    pLoginButton->setText(codec->toUnicode("登录"));
    pRegisterButton->setText(codec->toUnicode("注册账号"));
    pForgotButton->setText(codec->toUnicode("找回密码"));
    page_up->setText(codec->toUnicode("上一页"));

    QGridLayout *pLayout = new QGridLayout();
    // 头像 第0行,第0列开始,占3行1列
    pLayout->addWidget(pImageLabel, 0, 0, 3, 1);
    // 用户名输入框 第0行,第1列开始,占1行2列
    pLayout->addWidget(pUserLineEdit, 0, 1, 1, 2);
    pLayout->addWidget(pRegisterButton, 0, 4);
    // 密码输入框 第1行,第1列开始,占1行2列
    pLayout->addWidget(pPasswordLineEdit, 1, 1, 1, 2);
    pLayout->addWidget(pForgotButton, 1, 4);
    // 记住密码 第2行,第1列开始,占1行1列 水平居左 垂直居中
    pLayout->addWidget(pRememberCheckBox, 2, 1, 1, 1, Qt::AlignLeft | Qt::AlignVCenter);
    // 自动登录 第2行,第2列开始,占1行1列 水平居右 垂直居中
    pLayout->addWidget(pAutoLoginCheckBox, 2, 2, 1, 1, Qt::AlignRight | Qt::AlignVCenter);
    // 登录按钮 第3行,第1列开始,占1行2列
    pLayout->addWidget(pLoginButton, 3, 1, 1, 2);
    pLayout->addWidget(page_up,3,4);//设置上一页在第三行第四列

    connect(page_up,&QPushButton::clicked,[&](){

       win->show();
    });
    // 设置水平间距
    pLayout->setHorizontalSpacing(10);
    // 设置垂直间距
    pLayout->setVerticalSpacing(10);
    // 设置外间距
    pLayout->setContentsMargins(10, 10, 10, 10);//边框间距设置
    newweigdet->setLayout(pLayout);//添加进窗口部件
    newweigdet->show();//显示窗口部件
}
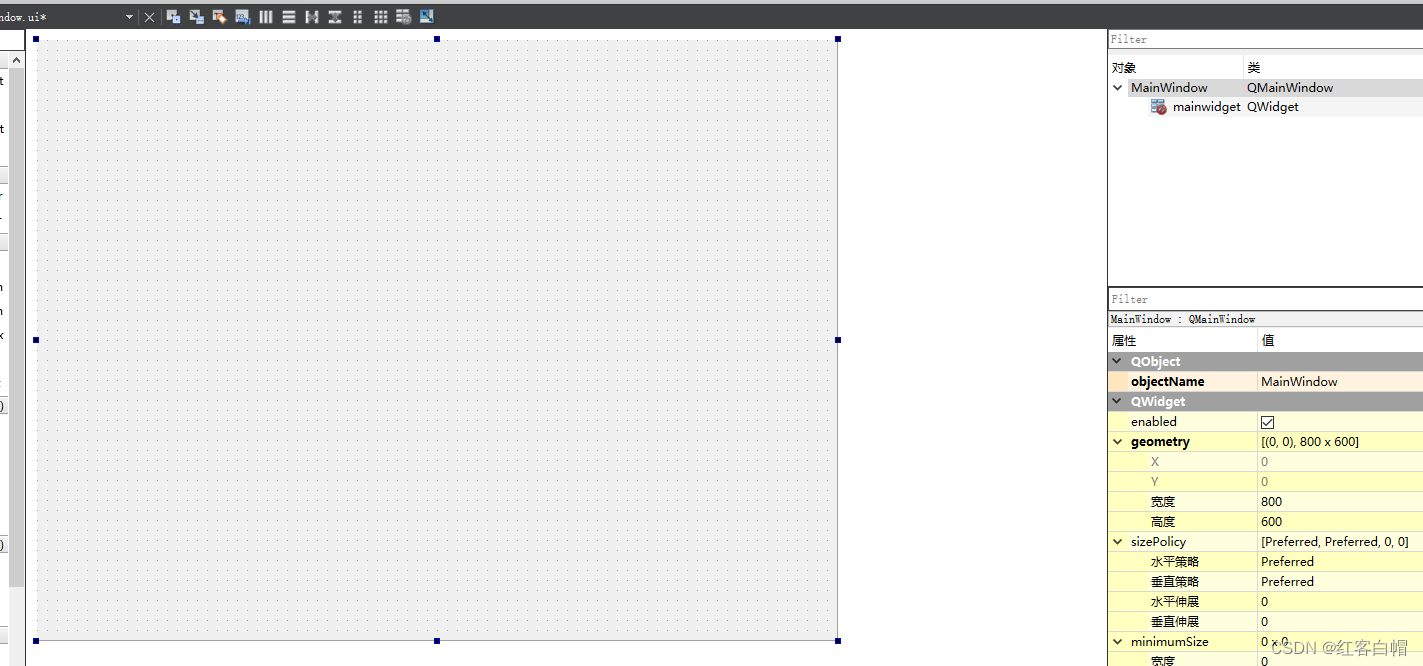
ui界面设计
由于是通过纯代码实现,所以ui界面是空的,不信你看:
实际具体细看代码如何实现,注释的已经很清晰了。
登录界面为例
以下如图:第一页
实际运行CTRL+R,点击下一页如图:
总结
学习QT并不是一朝一夕,庞大的函数库,需要巨大的精力投入学习,掌握基础方法后,通过QT手册边学边做,而布局管理器几乎所有项目都要用到,美观的外表非常的重要。
我也只是掌握了九牛一毛,但我会坚持学习,希望我们都有一份毅力,不断的加强实力,结束!
边栏推荐
- Apache foundation officially announced Apache inlong as a top-level project
- R language uses timeroc package to calculate the multi time AUC value of survival data in the case of no competition, uses Cox model, adds covariates, and visualizes the multi time ROC curve of surviv
- Here comes the official zero foundation introduction jetpack compose Chinese course!
- CoAtNet: Marrying Convolution and Attention for All Data Sizes翻译
- Elk log collection system deployment
- ABAP essays - program optimization notes
- ASEMI快恢复二极管RS1M、US1M和US1G能相互代换吗
- Medical image segmentation website
- 【解决】npm WARN config global `--global`, `--local` are deprecated. Use `--location=global`
- How long does it take to open a stock account by mobile phone? Is online account opening safe?
猜你喜欢

JS common error reporting and exception capture
![Leetcode: interview question 08.13 Stacking bin [top-down DFS + memory or bottom-up sorting + DP]](/img/22/220e802da7543c2b14b7057e4458b7.png)
Leetcode: interview question 08.13 Stacking bin [top-down DFS + memory or bottom-up sorting + DP]
![[untitled] Application of laser welding in medical treatment](/img/c5/9c9edf1c931dfdd995570fa20cf7fd.png)
[untitled] Application of laser welding in medical treatment

What can the accelerated implementation of digital economy bring to SMEs?

走好数据中台最后一公里,为什么说数据服务 API 是数据中台的标配?
Google Play Academy 组队 PK 赛,火热进行中!

Digital twin excavator of Tupu software realizes remote control

Server deployment and instructions

Safe and comfortable, a new generation of Qijun carefully interprets the love of the old father

How to make sales management more efficient?
随机推荐
Amadis发布OLA支付处理标准
Here comes the official zero foundation introduction jetpack compose Chinese course!
Robot Orientation and some misunderstandings in major selection in college entrance examination
Jetpack Compose 与 Material You 常见问题解答
Image saving: torchvision utils. save_ image(img, imgPath)
ABAP essay - material master data interface enhancement
Reading and writing JSON files by golang
ADC数字地DGND、模拟地AGND的谜团!
Elk log collection system deployment
Openresty Foundation
R language ggplot2 visualizes horizontal boxplot with coord_flip, and adds jittered data points to display the distribution
Another breakthrough! Alibaba cloud enters the Gartner cloud AI developer service Challenger quadrant
The summary of high concurrency experience under the billion level traffic for many years is written in this book without reservation
ASEMI快恢复二极管RS1M、US1M和US1G能相互代换吗
The R language uses the RMSE function of the yardstick package to evaluate the performance of the regression model, the RMSE of the regression model on each fold of each cross validation (or resamplin
Online communication - the combination of machine learning and knowledge reasoning in trusted machine learning (Qing Yuan talk, issue 20, Li Bo)
Huawei mobile phones install APK through ADB and prompt "the signature is inconsistent. The application may have been modified."
Is it cost-effective to buy a long-term financial product?
Now I want to buy stocks. How do I open an account? Is it safe to open a mobile account?
供求两端的对接将不再是依靠互联网时代的平台和中心来实现的